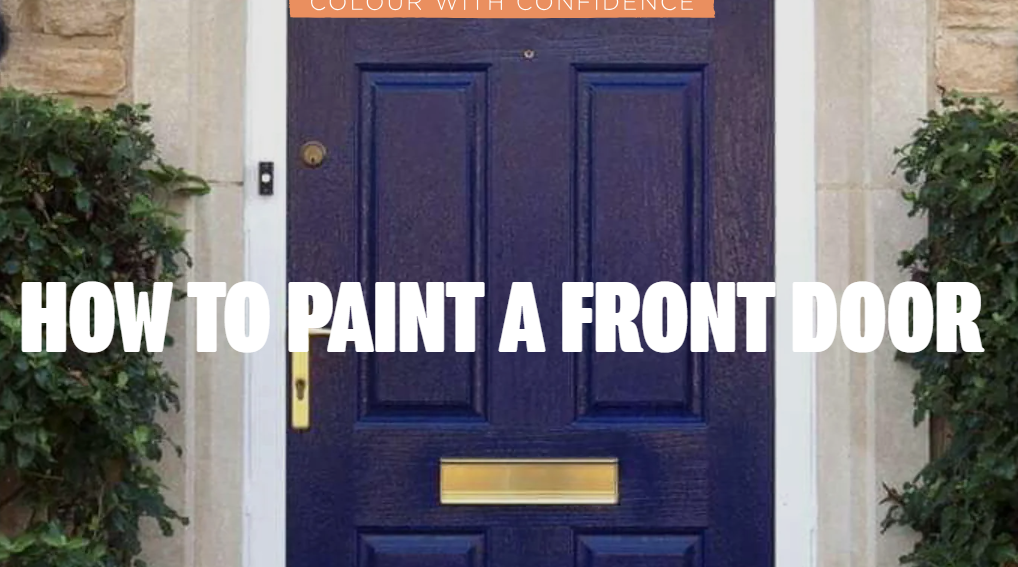
When revitalizing the exterior of your home, few projects offer the instant impact that a freshly painted front door can provide. Not only is painting a wooden front door a cost-effective way to breathe new life into your home’s facade, but it also allows you to express your personal style and boost curb appeal.
Contents
- Essential Tools and Materials
- Painting Your Front Door Without Removing It: A Step-by-Step Guide
- 1. Disassemble the Door Hardware
- 2. Thoroughly Clean the Door
- 3. Remove Old Paint with a Scraper
- 4. Address Cracks and Imperfections
- 5. Sand it Down
- 6. Wipe Down with Methylated Spirit
- 7. Apply a High-Quality Primer
- 8. Changing the Hue? Consider These Tips
- 9. Apply the Topcoat
- 10. Add Fixtures and Hardware
- 11. Don’t Forget the Inside
- FAQs
Essential Tools and Materials
Before you embark on this DIY project, gather the necessary tools and materials to ensure a smooth and efficient process. You’ll need a screwdriver, cleaning solution, paint scraper, wood filler, sandpaper, methylated spirit, primer, your chosen paint colour, and any additional fixtures or hardware for a complete finish.
Painting Your Front Door Without Removing It: A Step-by-Step Guide
1. Disassemble the Door Hardware
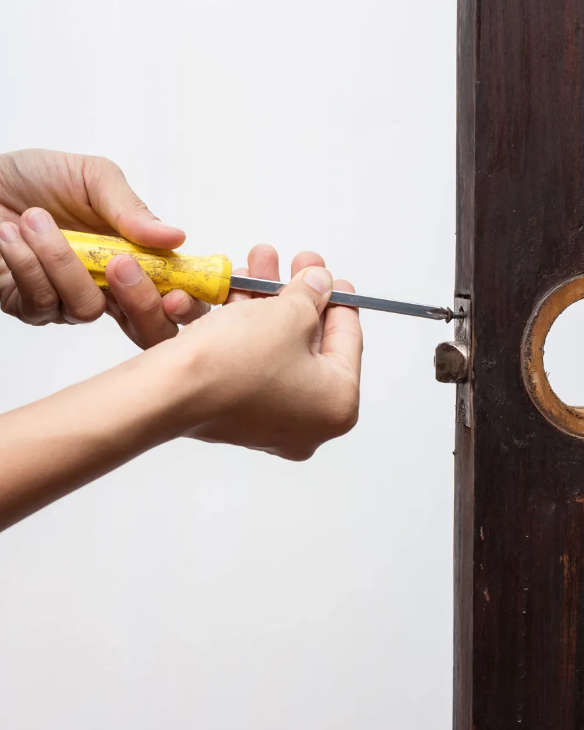
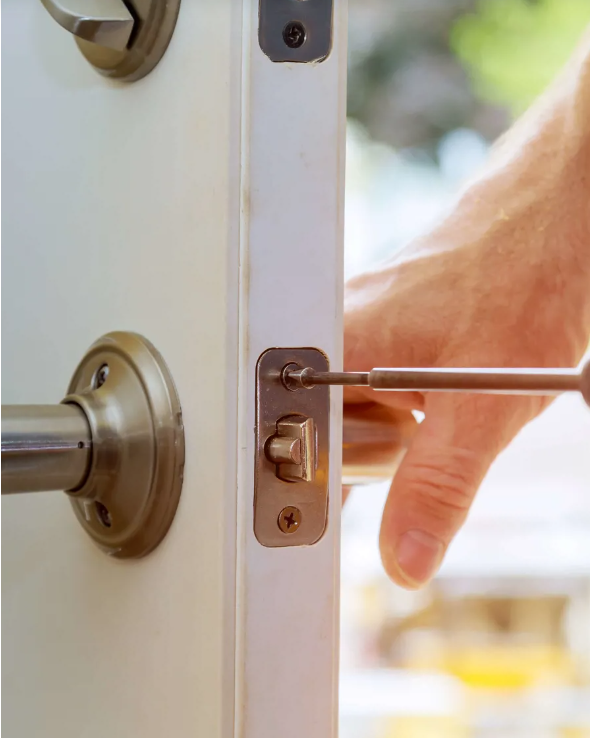
Begin by using a screwdriver to remove the door hardware, including handles, locks, and any other fixtures. This step ensures a seamless painting process without the risk of accidentally painting over these essential elements.
2. Thoroughly Clean the Door
Give your front door a thorough cleaning using a suitable cleaning solution. This step removes dirt, grime, and any existing paint residue, providing a clean surface for the new paint to adhere to. Ensure the door is completely dry before moving on to the next step.
3. Remove Old Paint with a Scraper
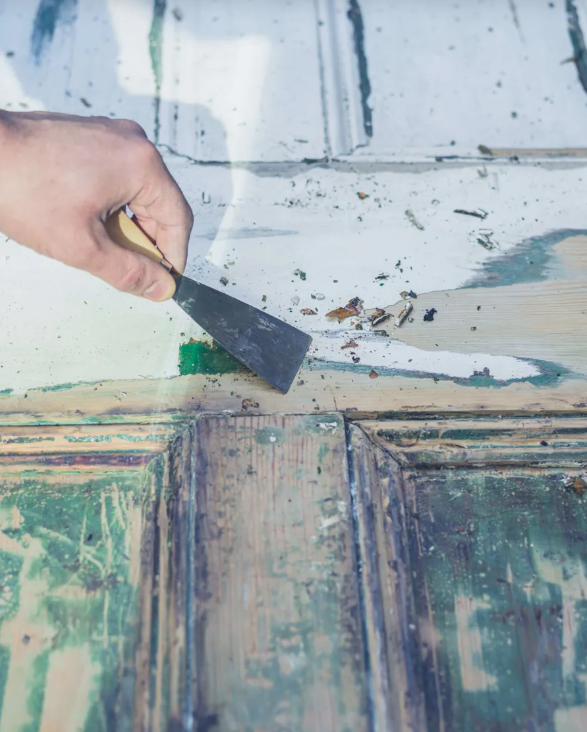
Use a paint scraper to gently remove any old paint from the door’s surface. Take your time and pay attention to detail, ensuring that all loose and chipping paint is eliminated. This step is crucial for achieving a smooth and even finish with the new paint.
4. Address Cracks and Imperfections
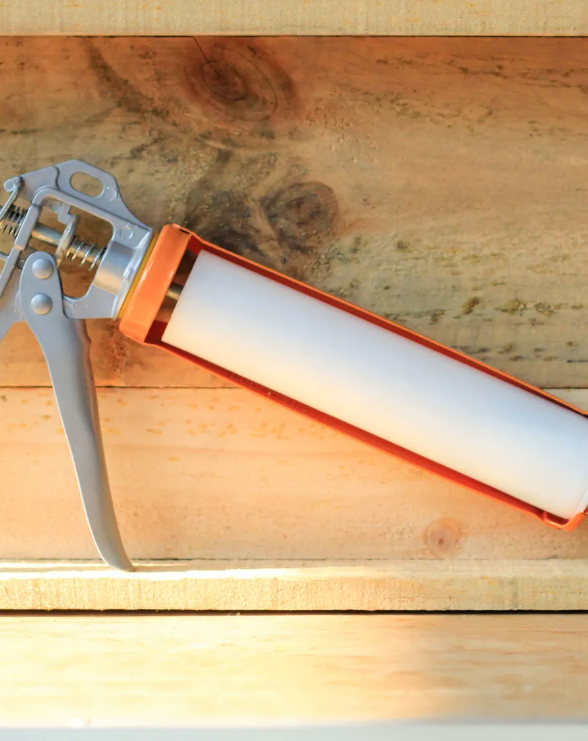
Inspect the door for any cracks or imperfections. Apply a suitable wood filler to repair these blemishes, smoothing the surface for a flawless final result. Allow the filler to dry completely before proceeding to the next step.
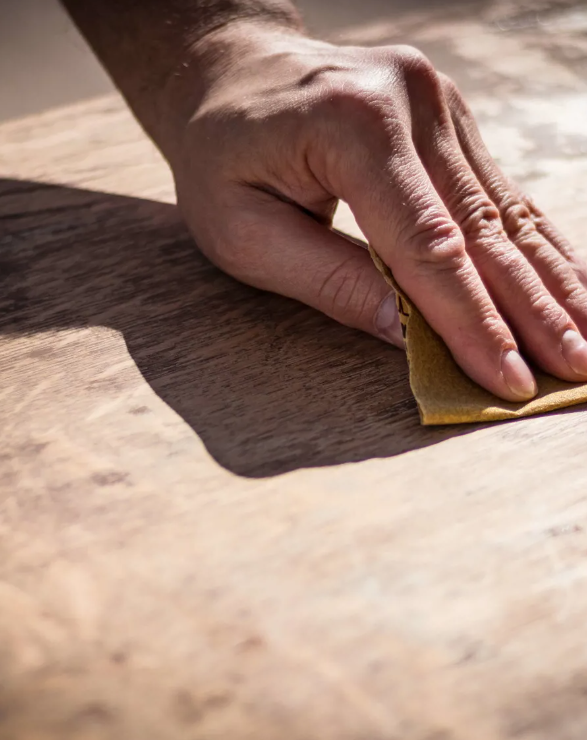
5. Sand it Down
Once the wood filler is dry, use sandpaper to smooth the entire surface of the door. Sanding creates a uniform texture, allowing the paint to adhere evenly. Pay attention to corners and edges, ensuring a consistent finish across the entire door.
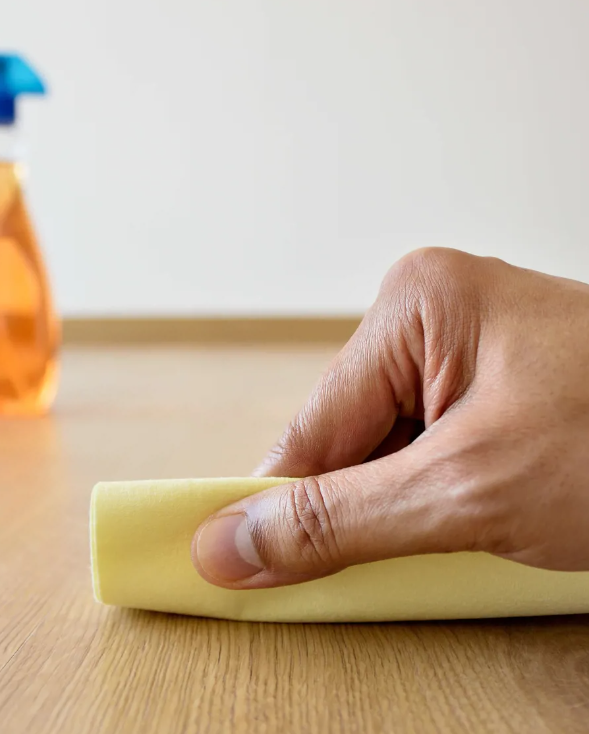
6. Wipe Down with Methylated Spirit
Clean the door again, this time using methylated spirit. Wiping down the surface with this solution removes any remaining dust or debris from the sanding process. A clean surface is essential for proper primer and paint adhesion.
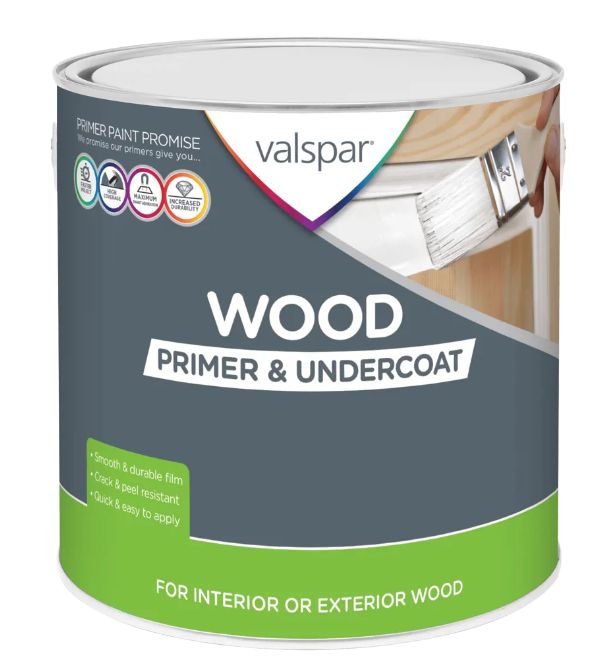
7. Apply a High-Quality Primer
Apply a high-quality primer to the entire surface of the door. Primer not only enhances paint adhesion but also provides an extra layer of protection. Choose a primer that is suitable for your door’s material and follow the manufacturer’s instructions for application and drying times.
8. Changing the Hue? Consider These Tips
If you’re opting for a new colour, be mindful of a few additional considerations. Consider applying an extra coat of primer for better coverage, especially when transitioning from a dark to a light colour. Take your time to achieve an even and consistent colour throughout the door.
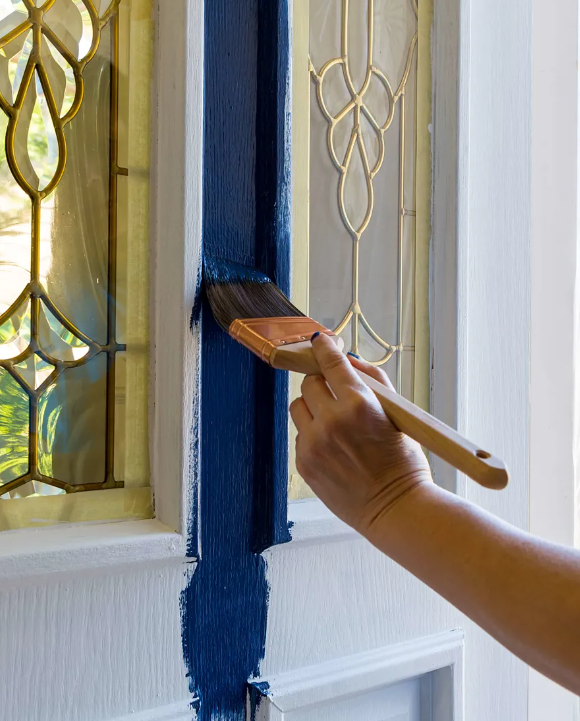
9. Apply the Topcoat
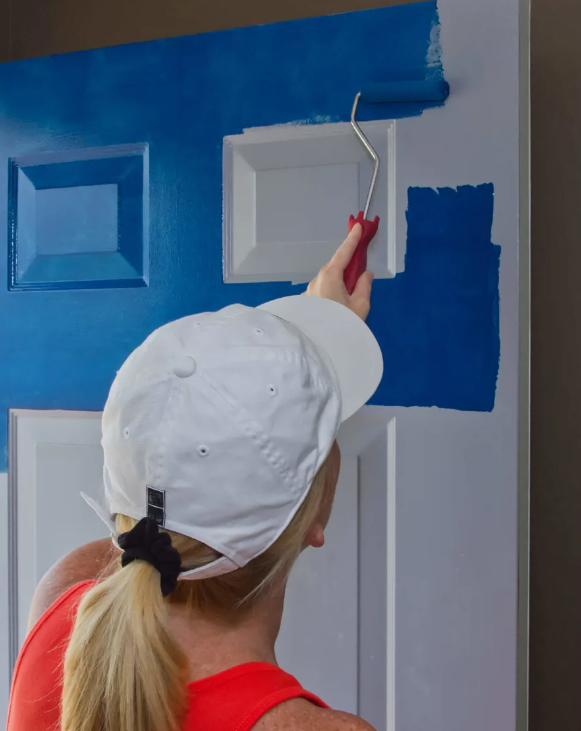
Once the primer is dry, it’s time to apply the topcoat. Use high-quality exterior paint in your desired colour. Apply the paint evenly, using long, smooth strokes to prevent streaks or brush marks. Allow the first coat to dry completely before applying a second coat for a more vibrant and durable finish.
10. Add Fixtures and Hardware
After the final coat of paint has dried, reattach the door hardware and any additional fixtures you removed at the beginning of the process. Ensure everything is securely in place, adding the finishing touches to your freshly painted front door.
11. Don’t Forget the Inside
While the exterior is the focal point, don’t neglect the inside of your front door. If your door is visible from the interior, consider painting the inside to maintain a cohesive look. Follow the same steps for cleaning, priming, and painting the interior surface for a polished and consistent finish.
FAQs
What kind of paint do you use on front doors?
The type of paint you use on front doors depends on the material of the door. For wooden doors, use a high-quality exterior paint; for metal doors, opt for a paint specifically designed for metal surfaces.
Can I paint my front door myself?
Yes, you can paint your front door yourself. Ensure proper surface preparation, use the right tools, and follow the manufacturer’s guidelines on the chosen paint for a professional-looking finish.
Do I need to strip my front door before painting?
Whether or not to strip your front door before painting depends on its current condition. If the existing paint is peeling or damaged, stripping may be necessary for a smooth finish; otherwise, proper surface preparation and primer application may suffice.


