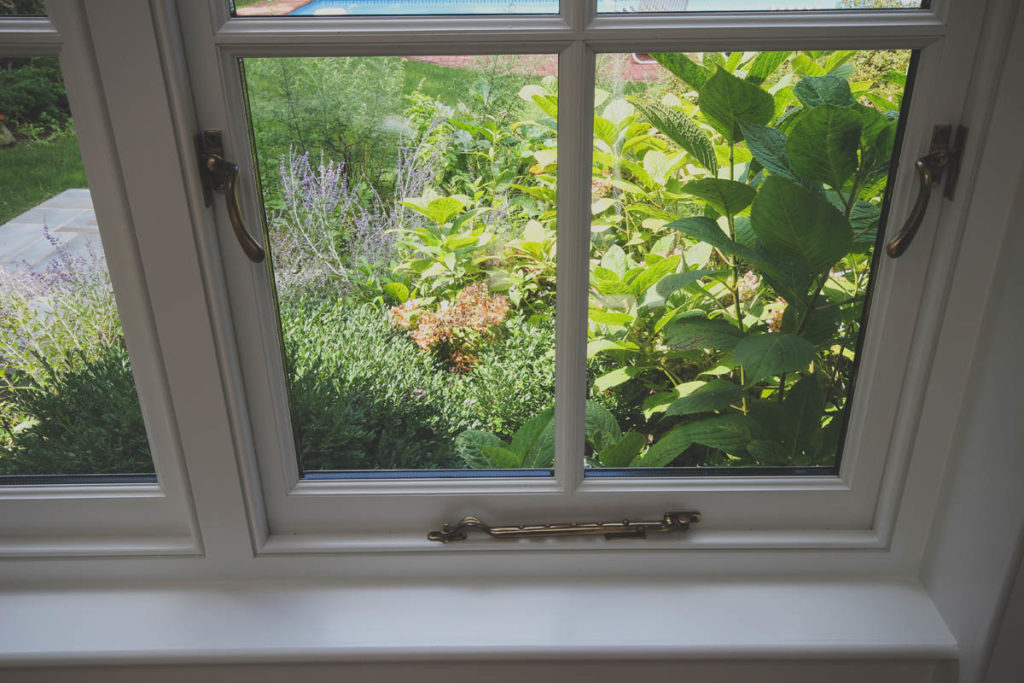
Having traditional wooden windows in your home is one of the best ways to add style to its curb appeal. Yet, over time, these materials will begin to deteriorate and will need to be replaced. Or, if you choose to do so, you can avoid replacing the whole wooden window frame by hiring a professional to make the necessary window repairs instead.
By choosing to repair wooden windows, you will not only save money on the cost of installing all new windows but also preserve the original beautiful looks of the property, too.
At repairing sash windows, our team of professionals is experienced in providing timber-framed repair services and in keeping these windows in tip-top pristine condition.
We provide timber window repair services for all types of properties including those that have been listed below.
- Residential buildings
- Listed buildings
- Office spaces
- Retail outlets
And, our team of experts will work with you throughout the process to ensure your needs and preferences are met.
Contents
Why Do Timber Windows Deteriorate Overtime?
As previously mentioned, wooden frames will start to deteriorate over time. And, there are normally many different reasons why these damages begin to occur. One of the most common reasons is often related to the timber in the window’s exposure to dampness.
Exposure to Dampness Leads to Rot
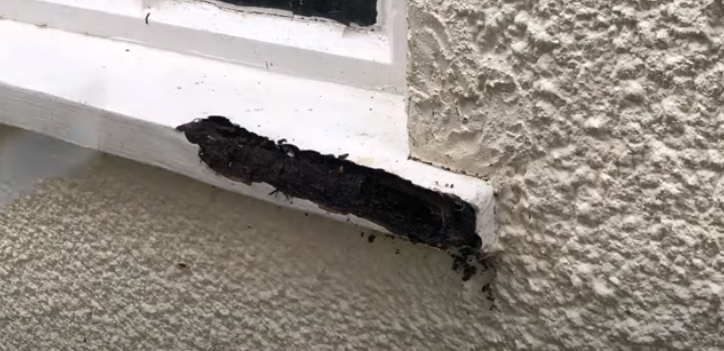
Exposure to dampness in timber windows will eventually lead to problems with rotting, primarily if the windows are not being maintained properly. The damages that occur can also result in serious damage when water penetration affects your property.
Typically, some of the most critical concerns for homeowners is dry rot that comes from the moisture content reaching levels over 20%. Or, if the texture of the wood is soft and spongy, homeowners will know that wood rot is present. Either way, these damages will not only affect the appearance of the window but also the structural integrity of the windows in the home.
Timber Window Repairs and Preservation
One of the top reasons for the breakdown and deterioration of timber windows is usually the lack of maintenance. To prevent these and other problems like being vulnerable to damp penetration from destroying your timber woods, regularly scheduled repairs are essential.
1. Fixing Wood Rotting Windows
If your wood windows or window sill have been damaged by dampness and wood decay, you will need to contact a specialist to assess the damage. And once an assessment of the damages is complete, these specialists can also be hired to perform the work that needs to be done. The process of repairs should be carried out promptly without unnecessary delays. In fact, the primary job of these professionals is to perform this work in a manner as follows:
- Cut out the sections of the timber that has been damaged by rot.
- Replace the rotted timber with new timber.
- Apply Fungicide paste and masonry biocide to prevent any additional attacks from woodworm beetles or damages that can be caused by wood rot.
2. Repairing Sash and Casement Windows
Due to rattles, leaks, draughts, and other vulnerabilities in sash and casement windows, it is not uncommon for homeowners to seek out professional repair services for these problems regularly, too. Here’s a brief overview of the repair process that will be needed to get rid of the initial damages.
- Step 1: Remove the windows from the frame
- Step 2: Remove the decay from the timber windows
- Step 3: Use epoxy resin to fill in any gaps that you see.
- Step 4: Use the process of timber splicing in the places where the timber cannot be restored or repaired.
- Step 5: Place the glass back securely in its original position in the window frame.
- Step 6. Carry out draught proofing once the sash window has been repaired.
When these parts of the project are complete, the next step is to start draught-proofing each timber window.
3. Draught Proofing Windows
Condensation tends to form easily around your windows when moisture seeks in through the gaps and around your windows. Also, once condensation begins to develop in these places, it usually results in the growth of mould.
To prevent these problems from occurring, there are several different things that should be done proactively. These are listed below.
- Improve the ventilation in these areas.
- Install extractor fans in your bathrooms and kitchens. These areas are the most susceptible to high moisture and significant problems with mould.
If the above 2 recommendations do not solve your condensation problems, your next option is to look into draught-proofing your timber windows. This is one of the primary keys to sealing the gaps between your walls and your frames. For example, if you find a gap in your window’s insulation (cold bridge), a specialist in this industry should be able to refit the window by adding a plastic cavity closer.
Step-by-Step Wooden Window Repair Guide
If you have decided to fix your wooden window issues, you may want to check out this window repair guide first. This guide will help to walk you through the step-by-step process, including providing a list of supplies and materials that will be needed to perform the job as efficiently as possible.
First of all, many of the supplies and materials listed in this guide are presently used by our team. However, for those of you who are on a tight budget, the recommendations for this job are slightly different. Because professional equipment can range into several thousand dollars and more, this type of investment is not really necessary for these types of DIY home timber wood repair and renovation projects.
That being said, let’s get started.
Step 1: Scrape off all of the rough areas from your wooden window frames
Start from the bottom and move upwards, while scraping off areas of the window that is cracked and flaking.
Step 2: Scrape off the glass panes
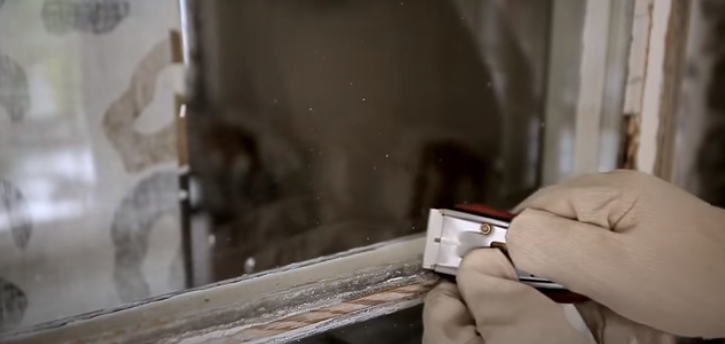
Use a gentle scraper to remove old paint from the glass, Here are some of the tools that you may want to invest in. Scraper Blades (removes subfloor, caulk, stickers, labels, decals).
For the best results, do not or forget to change out the blades frequently when you are scraping off the old paint and any other substances from your window glass.
4. Remove All Rotten Timber
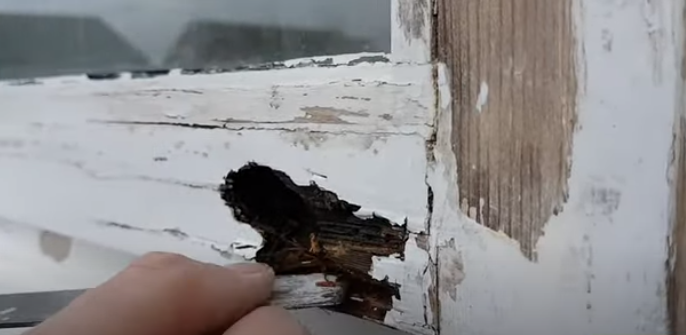
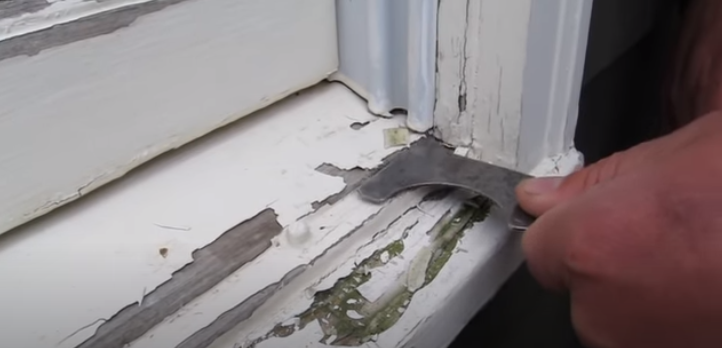
When you begin the process of heavy scraping, you may be surprised to see how much damage has been done to your wooden windows. Most homeowners will find a lot more damage than they could have possibly imagined. Therefore, you should always remember the basic principle to repair rot, which is to remove and replace (i.e. cut off all of the rotten parts of your windows).
To speed up this part of this job with exact precision, you need to make sure that you are using the appropriate tools as the Multi-Tool saw. This tool is a very smart investment since it can be used for a variety of different functions, including sanding down rotten parts to bare wood.
After all of the rotten parts of the wood have been removed, the next step is to scrape everything down to the paint layers that have been compromised. This part of the process usually entails:
- Working down to the bottom bare parts of the window to remove all of the rotten timber
- Sanding and smoothing down the upper parts of the sash window parts
To complete this part of the project efficiently and correctly, it is best to use the right types of sandpaper. For instance, you should start the sanding process with 80-grit sandpaper and then complete the smoothing off of these surfaces with 180-grit sandpaper.
Or, if you choose to do so, you can use a heat gun to remove the paint. A heat gun can be used for several different functions, including scraping the paint off and then preparing the surface of the wood to be painted.
Here are some of the pros and cons of using a 2000W Heat Gun for removing old paint from your wooden windows.
- 2000 W Heat gun is Easy to use
- Less dust to deal with, especially when it is compared to using sanders
- Extra accessories included (i.e. different nozzles, spatulas, and scrapers)
- Extra time required to complete the process is not considered to be the most speedy option
- Adversely affects the electric bill – easy to notice the difference in costs
5. Use Exposy Wood Filler to Repair the Wooden Frame
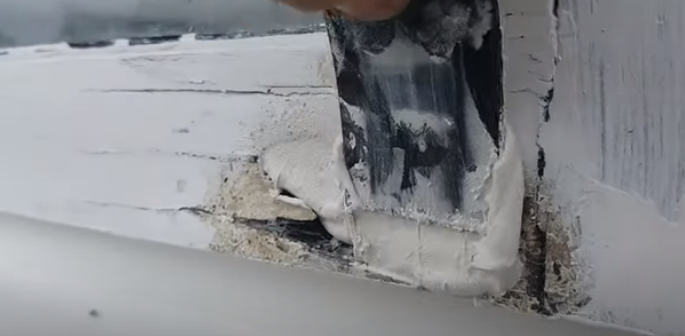
Once you have completed all of the scrapings and sanding part of this project, the next step is to repair the timber by using epoxy filler.
For those of you who are seasoned DIYers, Dryflex is highly recommended since it yields great long-term results. Dryflex can be described as a high-grade, 2-component tested wood filler that is known for being approved for window restoration projects (i.e. Grade 2 listed building usage).
Instructions on How to Use 2- component Wood Filler:
If you have never used 2-component Wood filler in any wood renovation project before, here are the step-by-step instructions that will guide you through this process.
- Step 1. Put on disposable gloves to protect your hands from the harsh and dangerous chemicals in the 2-component wood filler.
- Step 2. Dispense the correct dosage of the 2- component filler on a spatula by using a dosing gun. The dry flex original dosing gun is highly recommended to ensure the right ratio of these 2 components is used.
- Step 3. Promptly Mix the 2 components together. For about 2 to 3 minutes, mix these 2 active components thoroughly. The consistency of this mixture should be consistent and yellow in colour.
- Step 4. Apply this mixture to the gaps. Use your spatula to apply this mixture to where the rot was removed. Then, shape the filler with the spatula, while also removing any excess mixture from these surfaces.
- Step 5. When the epoxy filler Dries – Smooth the Surfaces
Once you let the epoxy filler dry completely, you will need to smooth out the surfaces. Smoothing out these surfaces will require using the right type of sandpaper to complete them properly. For example, to leave back a smooth finish, you should use 150 - 180 grit sandpaper.
6. Apply New Putty
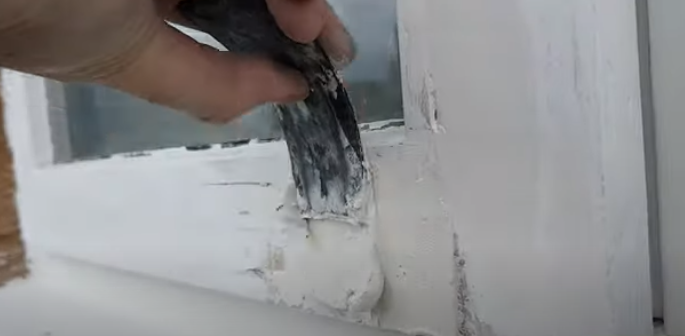
Apply new putty to places where the putty was damaged or missing from these areas altogether. To ensure the new putty is applied properly without causing any damage to the window, in a clean motion, move your knife away from the window.
You should be generous with the application of the new putty, while also making sure the putty matches the original line that was applied previously.
7. Paint Putty

When the putty is dry, the next step in this project is to paint the putty. You can use any option that is best suited to this job properly. For example, you can use one of the following:
- Exterior paint and a small-headed synthetic brush to paint the putty that has been newly applied.
- A paint sprayer that’s designed for painting windows.
Additionally, to make sure this paint job is weatherproof, you can prevent rain and other elements from seeping between the glass and the putty by overlapping the paint approximately 4mm above the putty line.
If you want to prevent problems like overrunning the paint onto the glass of the window, you should clearly mark out your paint line first.
To do this part of the process properly, use delicate low-tack tape. This type of tape will help with clearly marking a precision straight line and will avoid leaving marks on your windows.
8. Seal the Gaps Between the Windows, Sill and the Wall
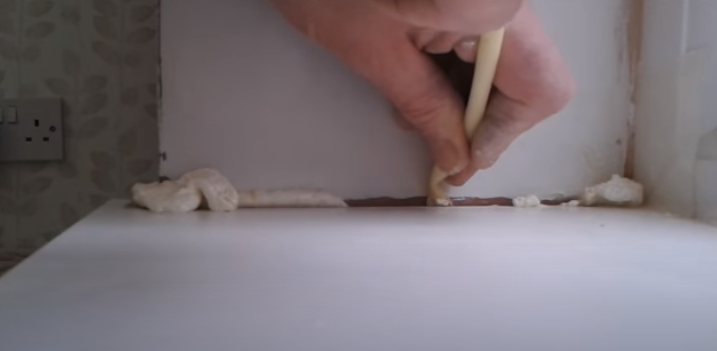
After you have completed the process of painting the putty, the next step is to seal up all of the gaps between the windows and the wall. This can be done by using an exterior sealant of your choice.
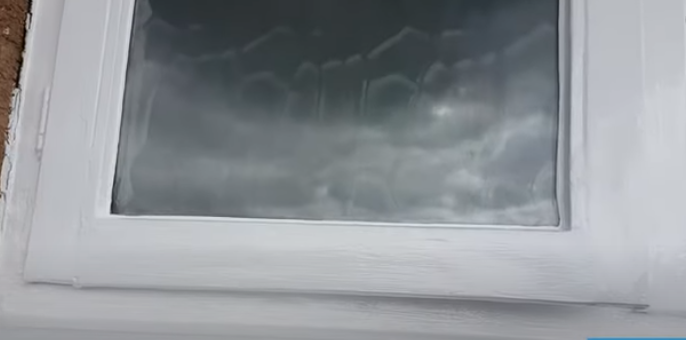
Also, when this stage of your project has been done, you can complete the entire project by painting the wooden windows.
Conclusion
Keeping your timber windows properly maintained is not only important to their overall healthy appearance but also to the integrity of their structure. Therefore, it is essential that your windows are always properly installed, painted, stained, and sealed.
Additionally, to identify potential problems early, you can contact our professional wooden window services by phone or by filling out the form provided. Our team of experts will ensure that your timber wooden windows are inspected and repaired on a regularly scheduled basis each year.